Centerboard and Rudder
The centerboard and rudder are both cut out of 3/4” marine plywood. I cut them to shape using the full size patterns given in the plans a few months ago when I was cutting out the parts for the frames, now I need to finish them.
Both the rudder and centerboard need to be shaped so their cross section is an airfoil, basically rounding over the leading edge and tapering the trailing edge like an airplane wing.

I was originally going to try to use a belt sander, but then saw how to do it with a router jig as shown below. This is basically a bridge that sits over the rudder or centerboard with the top cut into the airfoil shape. I drew the airfoil shape freehand, traced it onto plywood and cut it on the band saw.
I sandwiched the template around a 2x4 spacer so the router can ride on top with a 2” flattening bit. I set the height of the router so the bottom of the bit is level with the plywood at the thickest point on the rudder.

I can then move the router from front to back along the jig to cut a 2” wide strip across the centerboard into an airfoil, slide the centerboard 2” down in the jig, shape the next 2”, and so on until I shaped the entire centerboard below the waterline. Then I flip the rudder over and do the same on the other side.

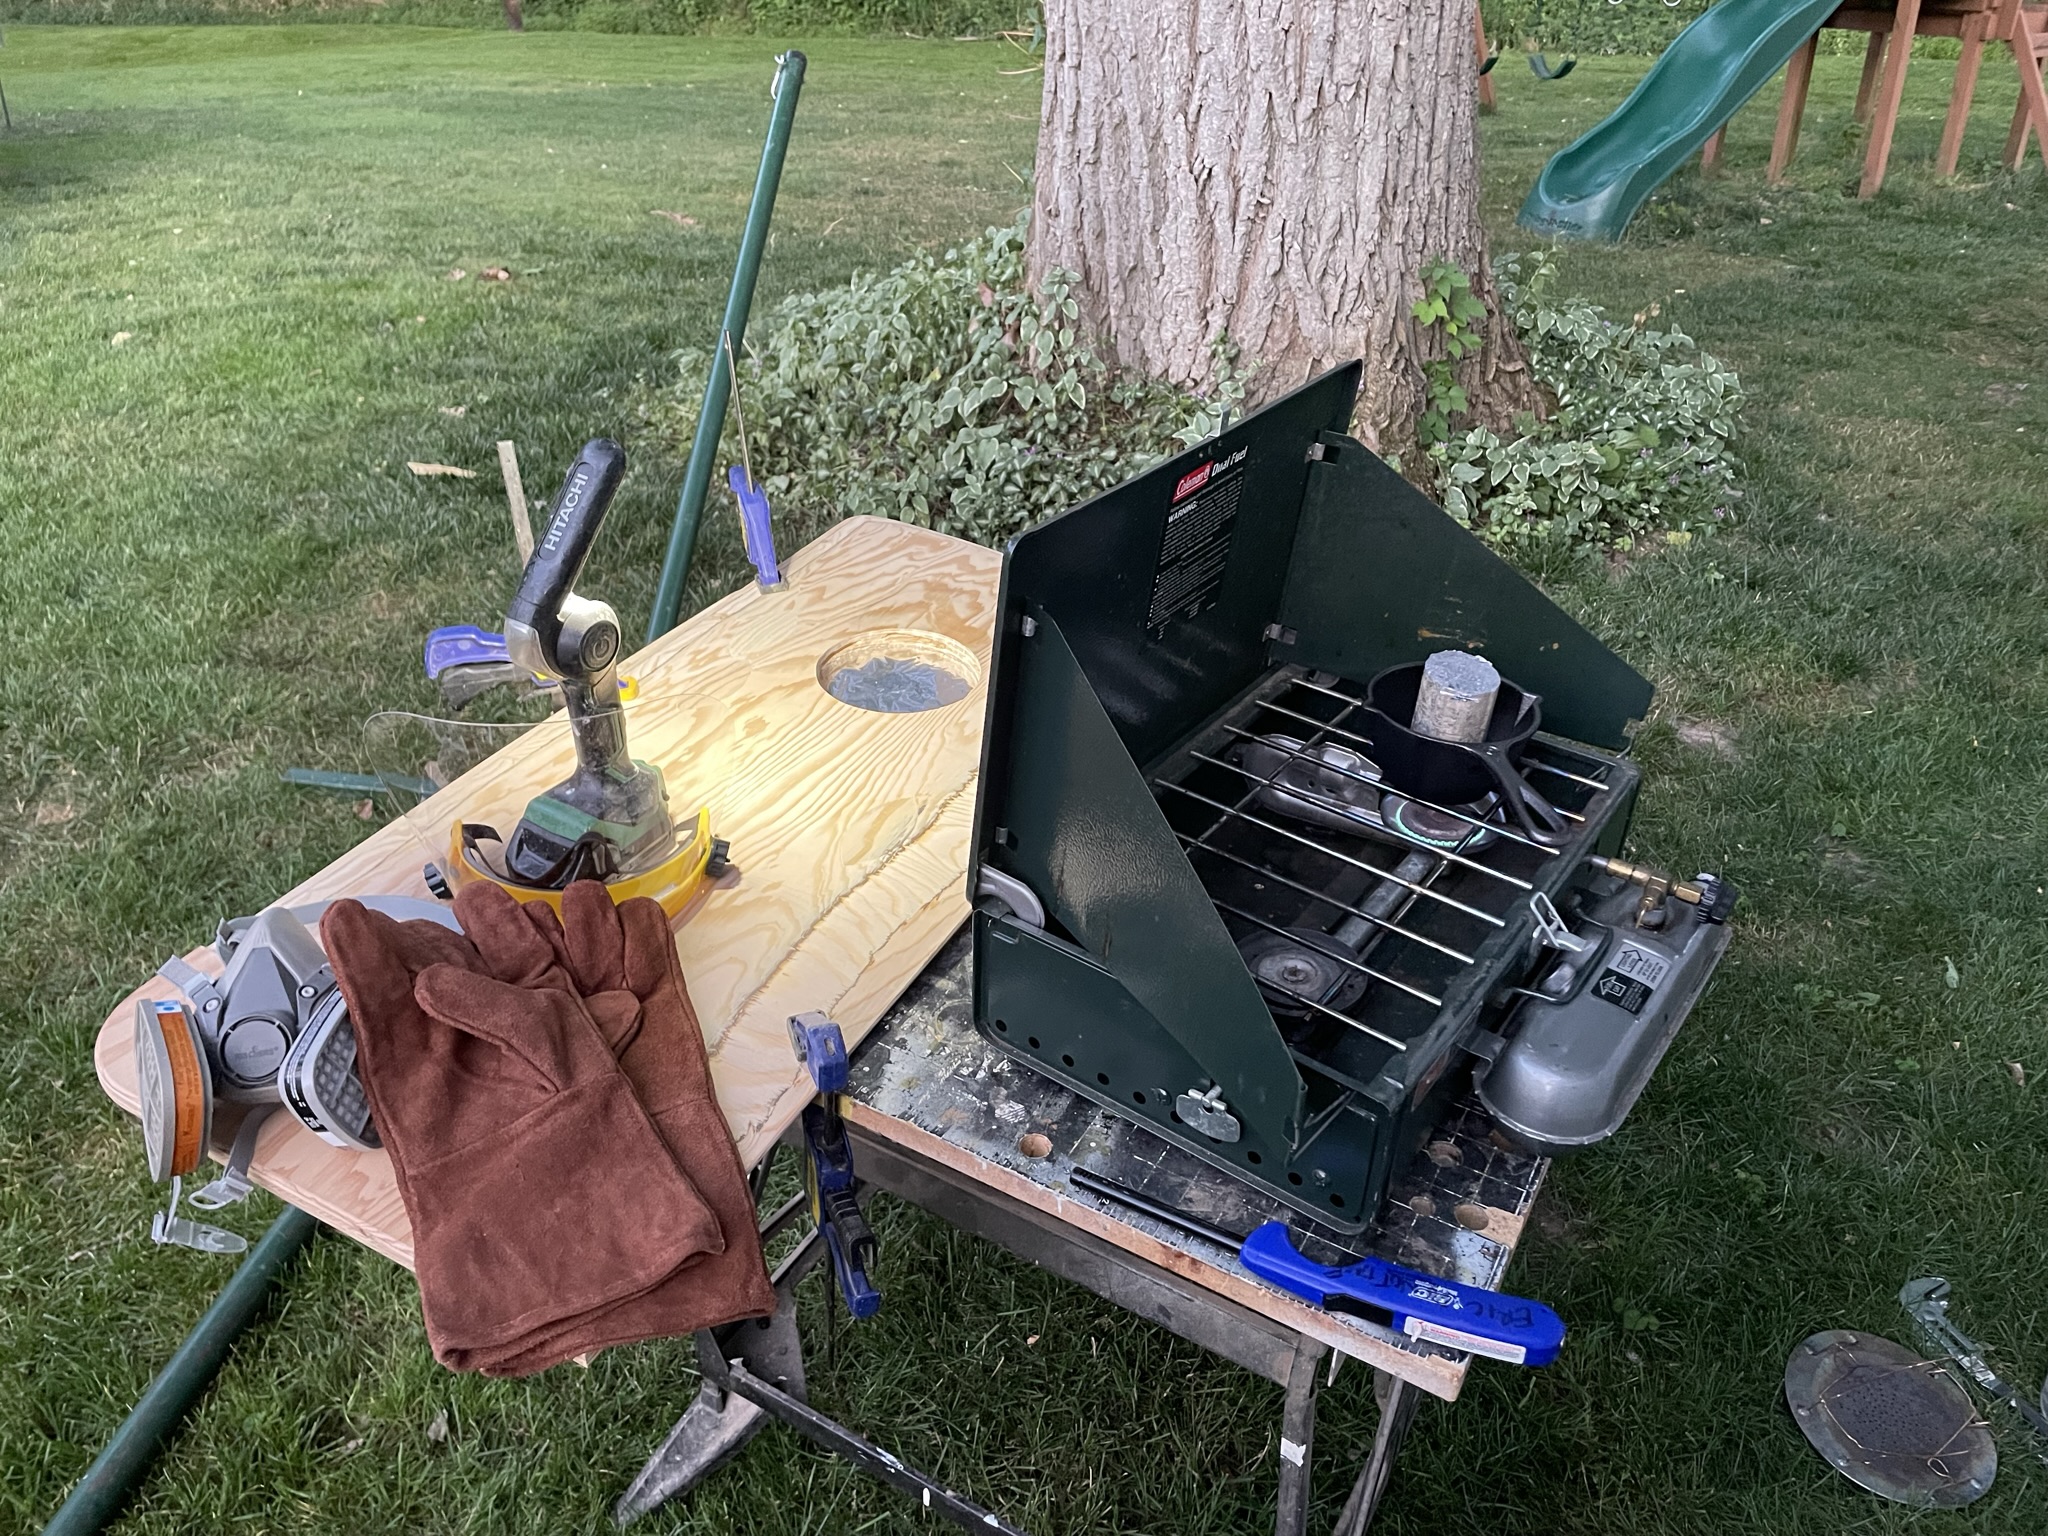
I used a belt sander to clean up the router cuts and rounded the edges by hand to get the centerboard to its final shape. Next is the centerboard weight, which is embedded in the centerboard and shouldn’t change its shape. The weight is necessary because the centerboard swings down on a pivot and is almost entirely underwater when in use, so because wood floats the centerboard needs some ballast to keep it from popping back up. The plans call for 12 lbs of lead ballast (30 sq. inches) so I cut a 6” diameter hole and cut a groove in the edge to prevent the lead from falling out in case it shrinks when it cools (it didn’t seem to).
Luckily a friend, who is also a word worker and sailor, had a hunk of lead from an old window weight that he gave me. Lead melts at a relatively low temperature (621.5 degrees) and can supposedly be melted on a stove so I bought a cast iron pot and tried using a camp stove. After about 20 minutes nothing was happening, so I pulled out a propane torch and that gave it the extra push it needed - as soon as I hit the lead with the torch, it melted right away. I then just poured the melted lead into the hole in the centerboard.
Once it cooled a little but not completely hardened, I used a sledge hammer to pound down any high spots so I wouldn’t have to sand it, and then fiberglassed both sides of the centerboard to encapsulate it (with the added benefit of holding the lead in place).

I then poured a filler layer of epoxy over the fiberglass cloth to fill the weave, and sanded it smooth.

I repeated the same process to shape the rudder. I had to make a separate jig for the rudder because it is only 12” wide while the centerboard is 18” wide. After a little more sanding, both the rudder and centerboard are about ready for painting

I painted the centerboard and rudder with the same Interlux Primekote and Perfection top coat that I used for the sides and interior.
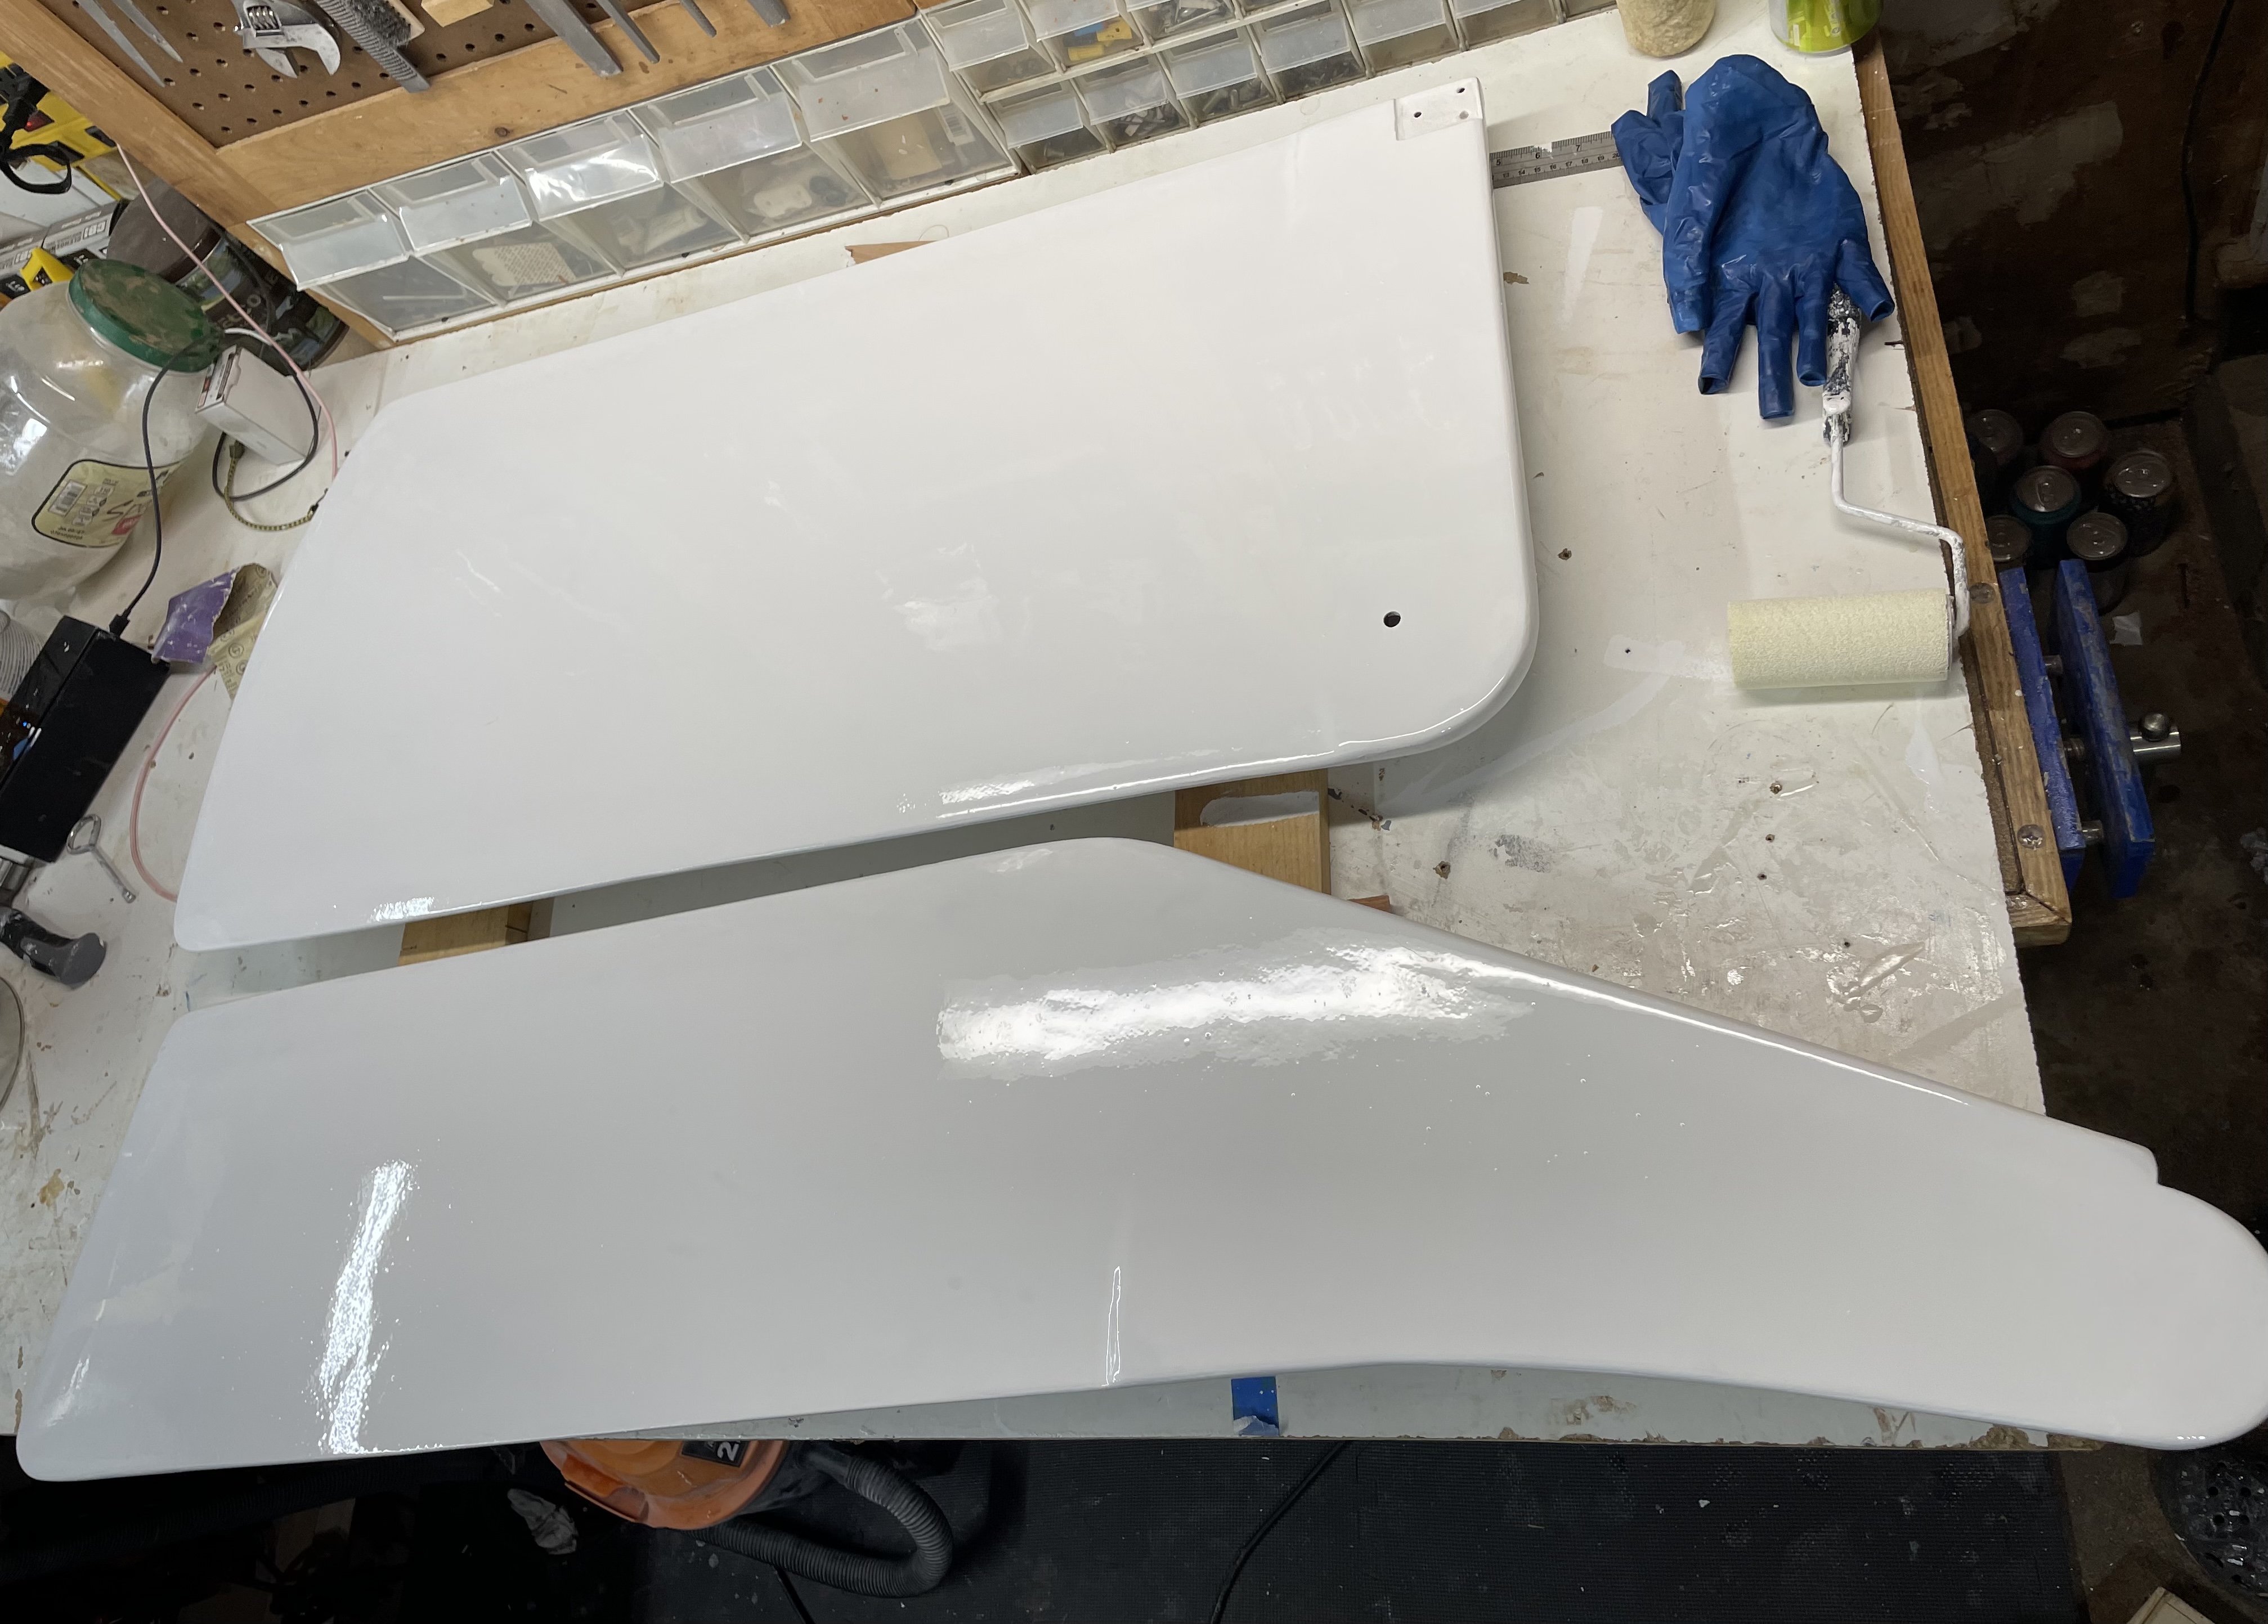
The first coat was pretty dusty so I made a makeshift tent to keep dust out. Not sure if it helped or made it worse.

Next step is to install the rudder and centerboard along with the pulley system to raise and lower the centerboard, and a tiller for the rudder.


Comments
Post a Comment