Rub rail
It took me a little while to decide how to design and make the rub rail and trim the deck. The plywood deck planking is attached to the frames with silicon bronze ring nails with the nail heads visible through the deck so I wanted to hide them (I tried to keep the nails evenly spaced and straight just in case). The seam between the decking and hull planking is also a little rough so I wanted to cover that up too. Finally I wanted to provide some protection for when the boat inevitably kisses the dock.

This is the job of a rub rail – a piece of trim, usually rounded in profile, that follows the sheer and covers the seam where the deck and hull meet. You can buy premade strips of rubber and/or metal rub rail, but I wanted to make them out of wood to match.
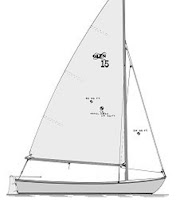
The plans give two options for a rub rail as shown below. Neither of these options cover the nail heads on the deck, so I decided to deviate from the plans a bit and design my own trim and rub rails. I also wanted to make the rub rail a little bigger than the plans show. And, last but not least, I already cut the decking flush with the side of the hull which ruled out option two.

I designed my own rub rail and trim consisting of three pieces: a 3/8” x 1-1/4” outer sheer (A), a 3/4” diameter semicircle rub rail (B), and 3/16” x 7/8” deck trim (C).

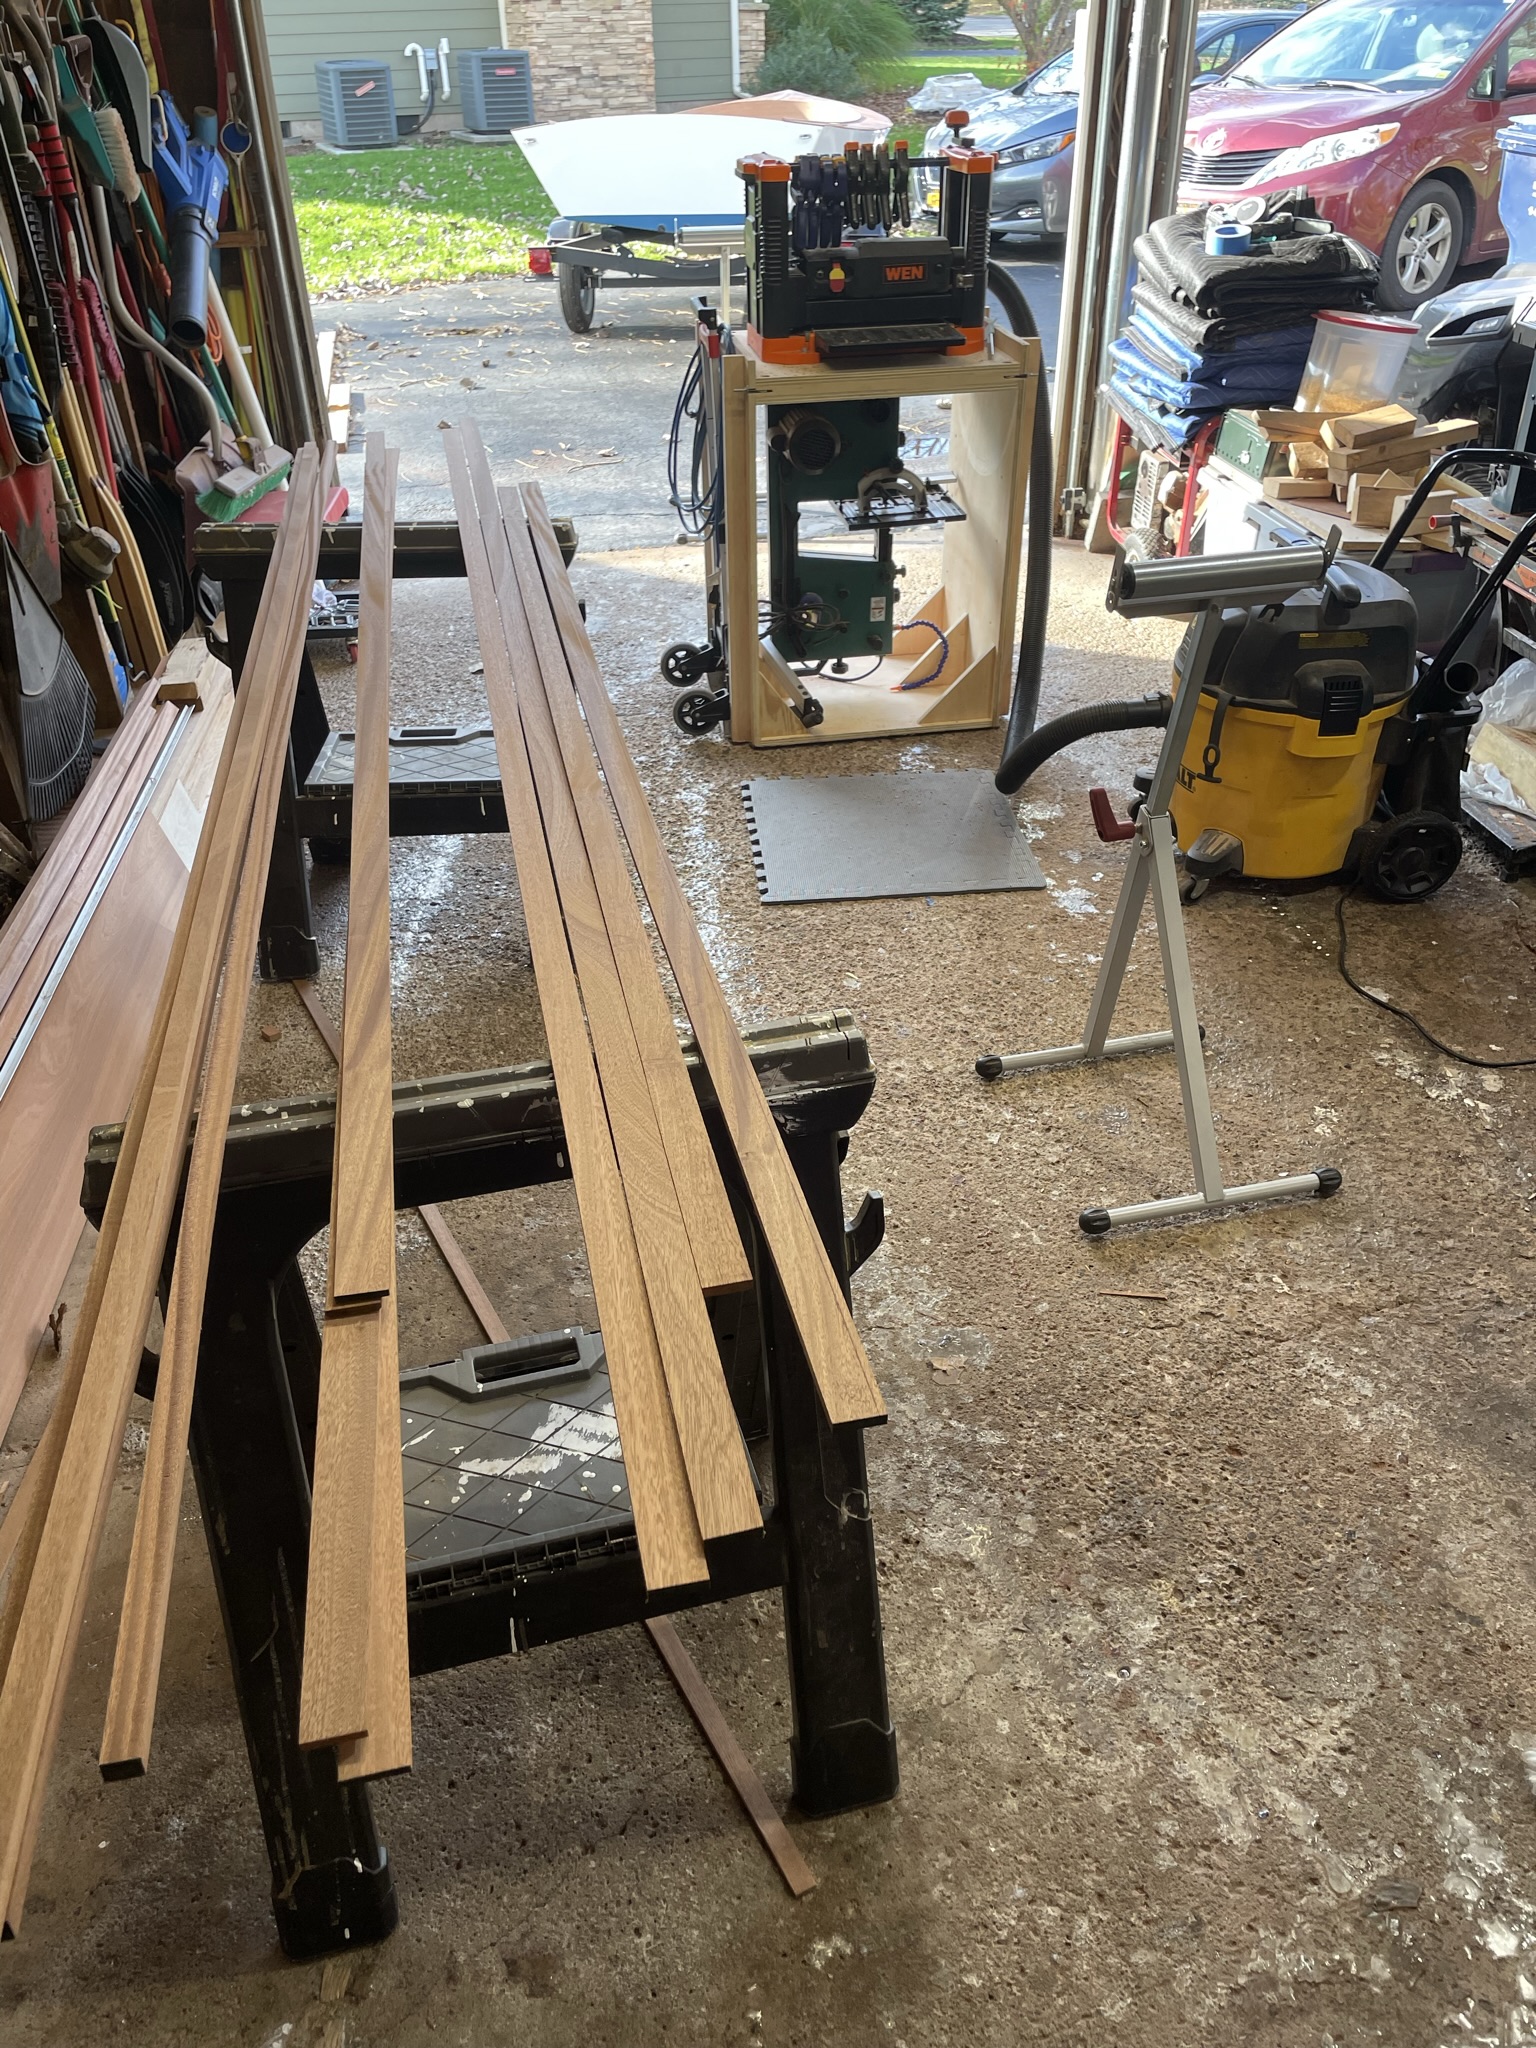
I made all the pieces out of Mahogany, which I hope will match the deck and contrast nicely with the white hull. I cut the lumber to rough dimensions on a table saw, and then ran it through my thickness planer to clean it up to final dimensions and finally used a router table to round over the edges.
The photo below shows the outer sheer installed with epoxy and 1” x #8 wood screws every 8”. The rails had a compound bend to them (they curved both in and up at the stern and bow) as well as a twist because the angle of the hull varies, so they were challenging to bend but a little while in the steamer helped a lot.

I couldn’t find long enough lumber so I had to use a scarf joint - a 3” long taper joint - to make a long enough piece. I cut the scarfs with a handsaw and installed the pieces separately, gluing and clamping them in place.

Once I had the outer sheer trim installed, I test fit the rub rail and marked the bottom edge with a pen.

Then I used a hand plane to make the edges square so the rub rail fits tight. I think I am going to epoxy the rub rails in place without screws for a clean look. I am also going to fill the screw holes in the outer sheer with plugs.

I cut the plugs from scraps from the outer sheer so they blend in. I used a tapered 3/8” plug cutter on a drill press. The outer sheer is only 3/8” thick so the screws aren’t countersunk very deep but there should be just enough to hold the plugs I hope.

After plugging the screw holes, I used a thickened epoxy that I color matched with sawdust to glue the rub rails in place. I didn’t use any fasteners and am relying on the epoxy to hold them in place. I spliced two pieces into a 16’ long rub rail for each side with a scarf joint before installation. The rub rails were too long to steam bend but fortunately were thin enough that they bent on their own. I carefully cut the angle where the port and starboard rub rails meet at the bow so they fit tight. Then I glued them in place with thickened epoxy and all the clamps I could find (about 30 total)
The last piece of the rub rail is the sheer cap, which is a 3/16” x 7/8” Mahogany trim on the top of the deck to cover the nail heads (7/8” was as narrow as I could make it and still hide the nails). Since the top piece needs to bend on the wide 7/8” side, I had to cut it into three pieces and use steam and a lot of clamps to get it to bend to fit the curve of the deck. The top sheer trim is also just held in place with epoxy but no fasteners.

The blankets on the bow in the picture above are heated electric blankets to keep the epoxy warm while it cures (downside of trying to work in western NY in December). I also cut a piece of trim to fit along the top of the transom the same height as the outer sheer clamps. I traced the curve of the transom onto a wide board and cut it on a band saw rather than trying to bend it.
You can see how everything fits together in this photo looking at the transom from the stern forward.

The joints between the pieces shouldn’t be very visible once I sand and seal the trim with epoxy (which should also darken it to the same color as the deck). I’m very happy with how it looks so far:


I ran out of warm weather before I could put the filler coats of epoxy on the deck fiberglass, which is why the fiberglass weave is so visible in the above picture, but two coats of epoxy in the spring should hide the weave and make it a nice clear shiny finish (I hope).
After installing the port side sheer trim, I took advantage of a sunny (but very cold) day to wheel the boat outside. I couldn’t resist removing the plastic drop cloths to peek a full view.

I just need to make and install trim around the cockpit and over the seam on the foredeck where the plywood decking halves meet, and the hull is basically complete except for the deck fittings and spars (i.e. mast and boom).


Comments
Post a Comment