Building the spars
The spars are the wooden “poles” that hold up the sails and consist of two pieces: the mast (the tall upright post) and the boom (the horizontal member that attaches to the mast and swings to control the angle of the main sail).
The mast is made from a 22’ long piece of 3” x 4” Sitka spruce. It is tear drop shaped in cross section and tapered getting narrower at the top, so I will have to shape it out of a rectangular board.
Sitka spruce was hard to find. The only place I could find it was a boat building store near Toronto, Noah’s Marine, which is about a three hour drive and in a different country. Luckily I had to drive to Toronto anyway so I stopped on the way. Even then, I couldn’t find a piece big enough to make the mast out of one piece (which I expected), so I had to make it out of several pieces.

I bought 6 boards each about 1” thick by 4” wide by 12’ long, which I spliced in pairs to make three 22’ long lengths that I’ll stack and glue to make a single 3” x 4” x 22’ long piece to shape the mast out of.
Since the mast will be under a lot of stress, I joined the 12’ long lengths with scarf joints to maximize the gluing area and therefore the strength of the joint. The scarfs took a bit of time to layout but were pretty easy, if time consuming, to cut using a flattening bit in the 4’ long router sled that I originally made to scarf the plywood hull planking.
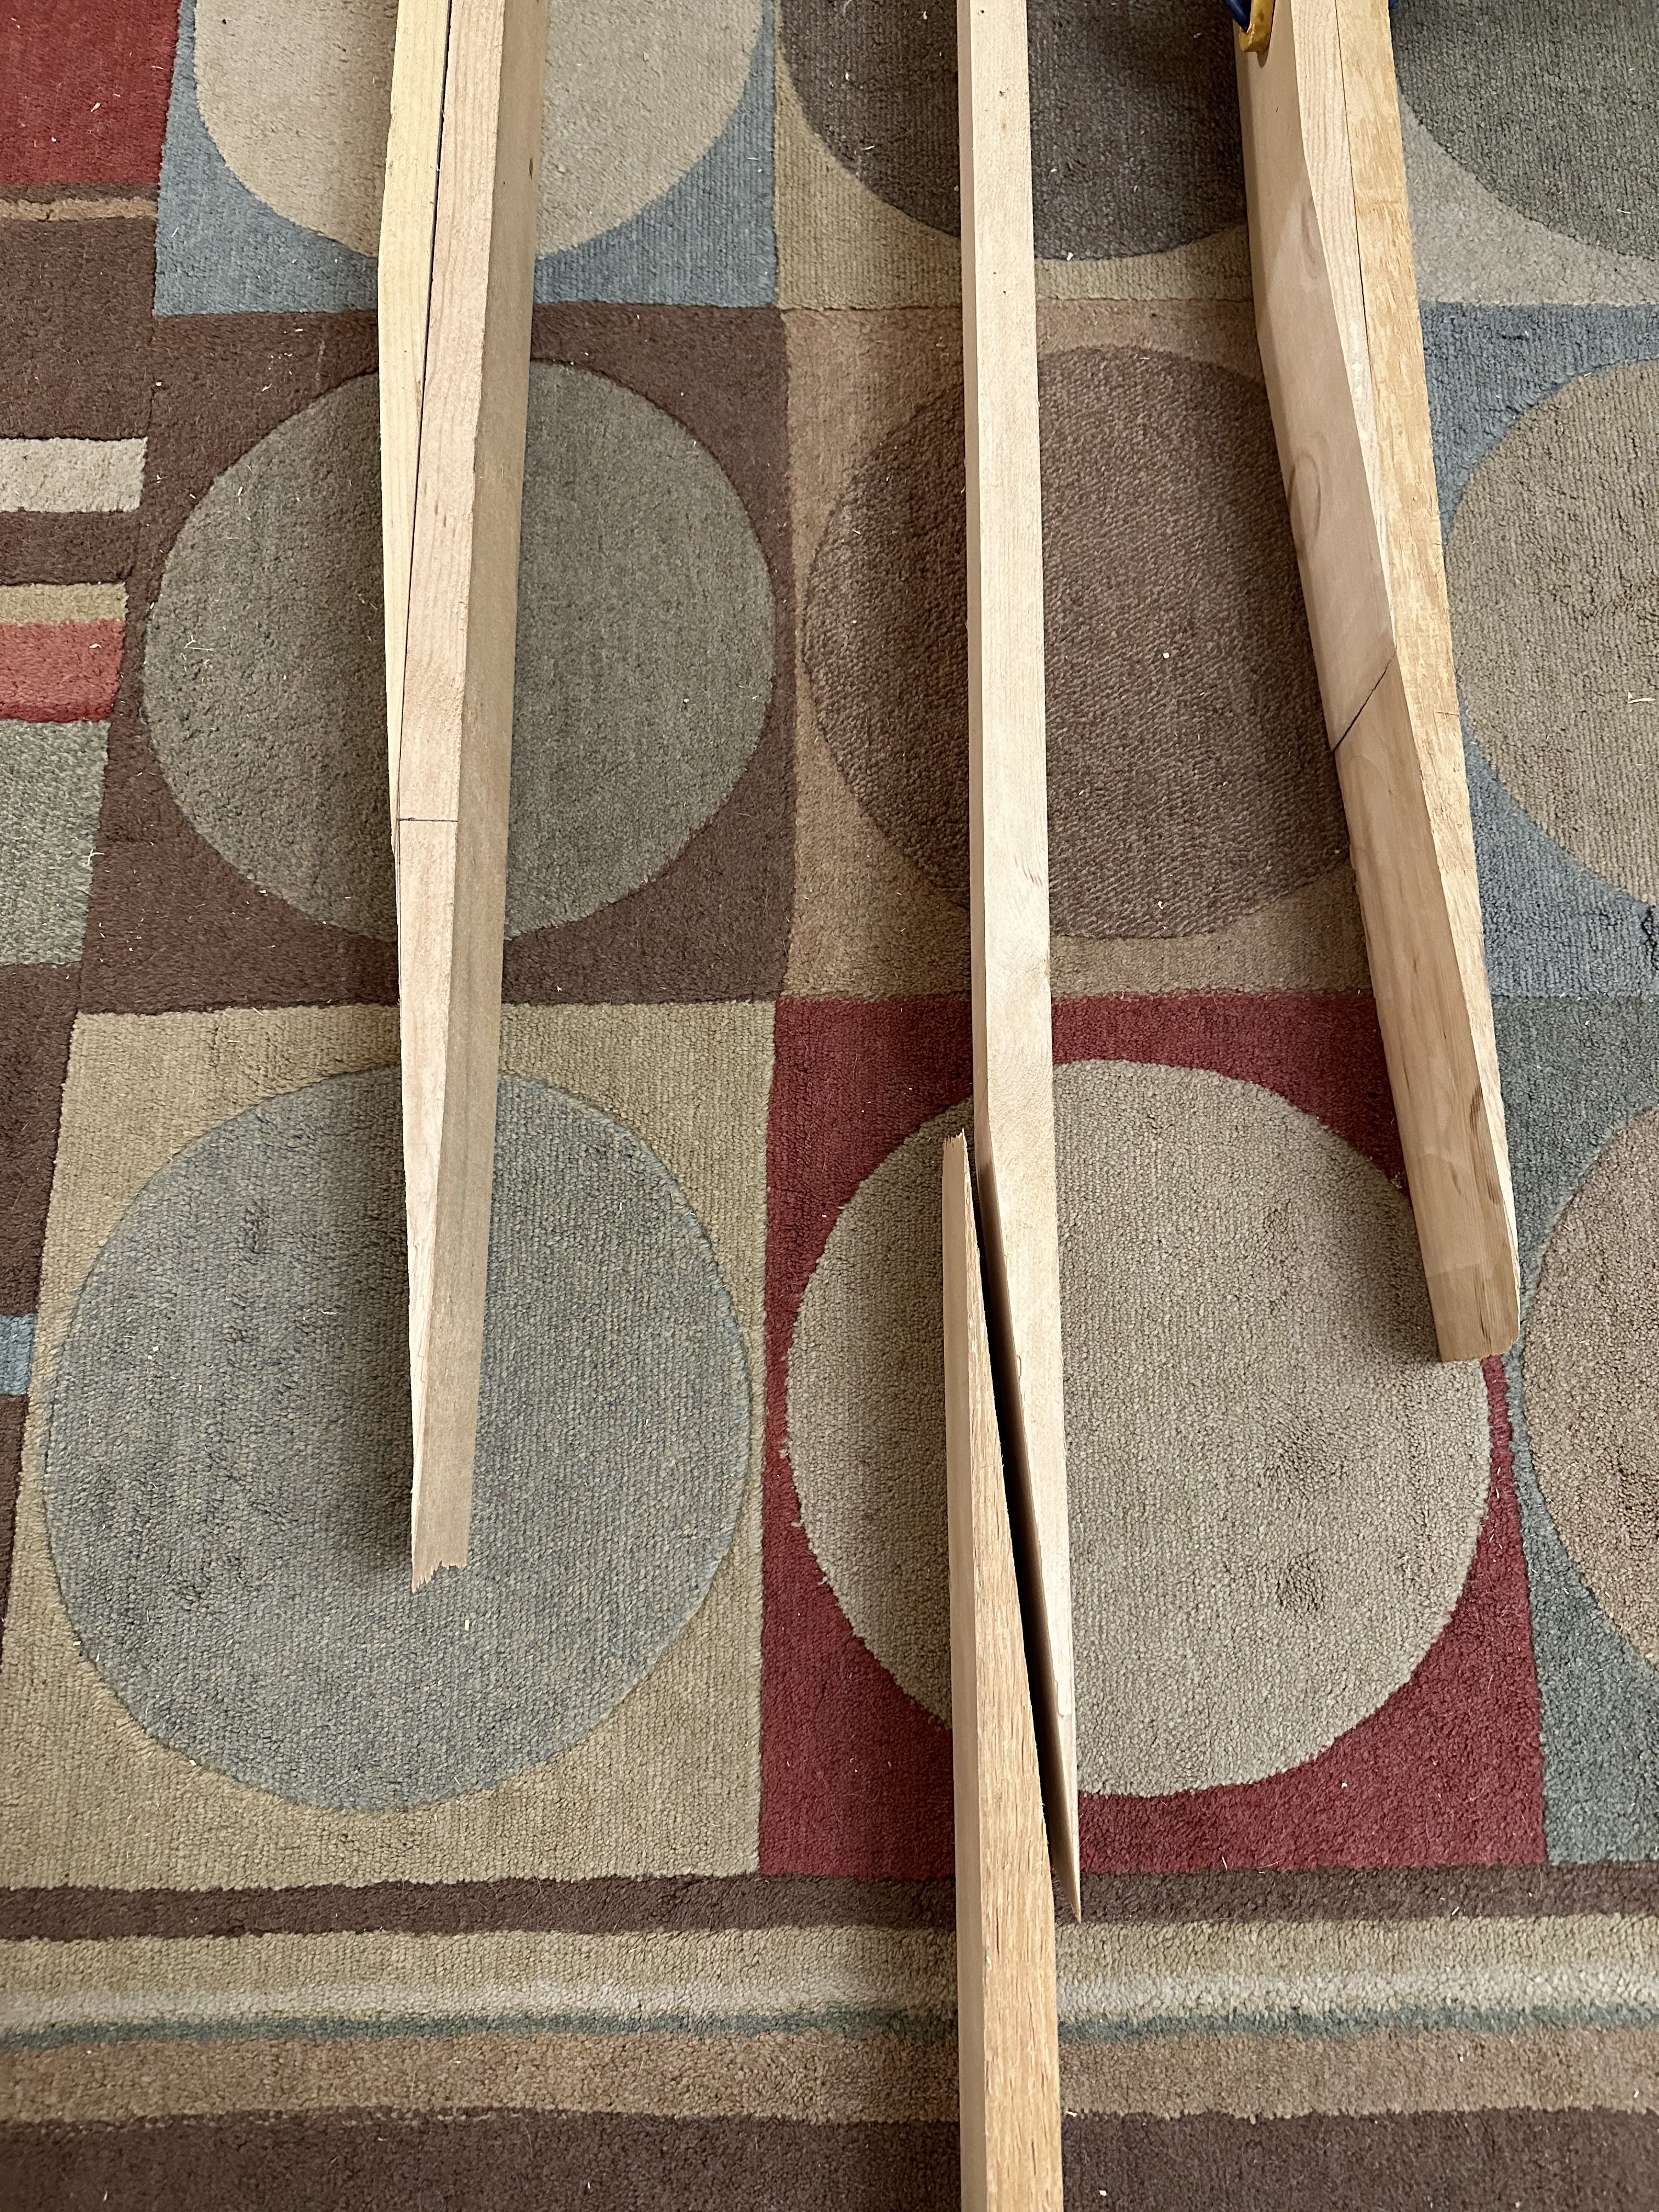
I staggered the joints so adjacent layers won’t line up. The picture below shows the scarf joints. The middle piece shows how they’ll glue together and the ones on the outside of the photo each show two boards stacked with the scarf joints lined up to check the angles match.
I glued the board pairs together with epoxy since it has good gap filling properties. I used an 8’ straight edge to make sure the joints were straight. This is one of those things that is easy in theory - lay both boards against the straight edge and they’ll be straight. This only works though if the boards you are glueing are straight. In my case, some of the board were curved making them kind of banana shaped so I did the best I could. I hope I can straighten them out when I glue the three boards together.

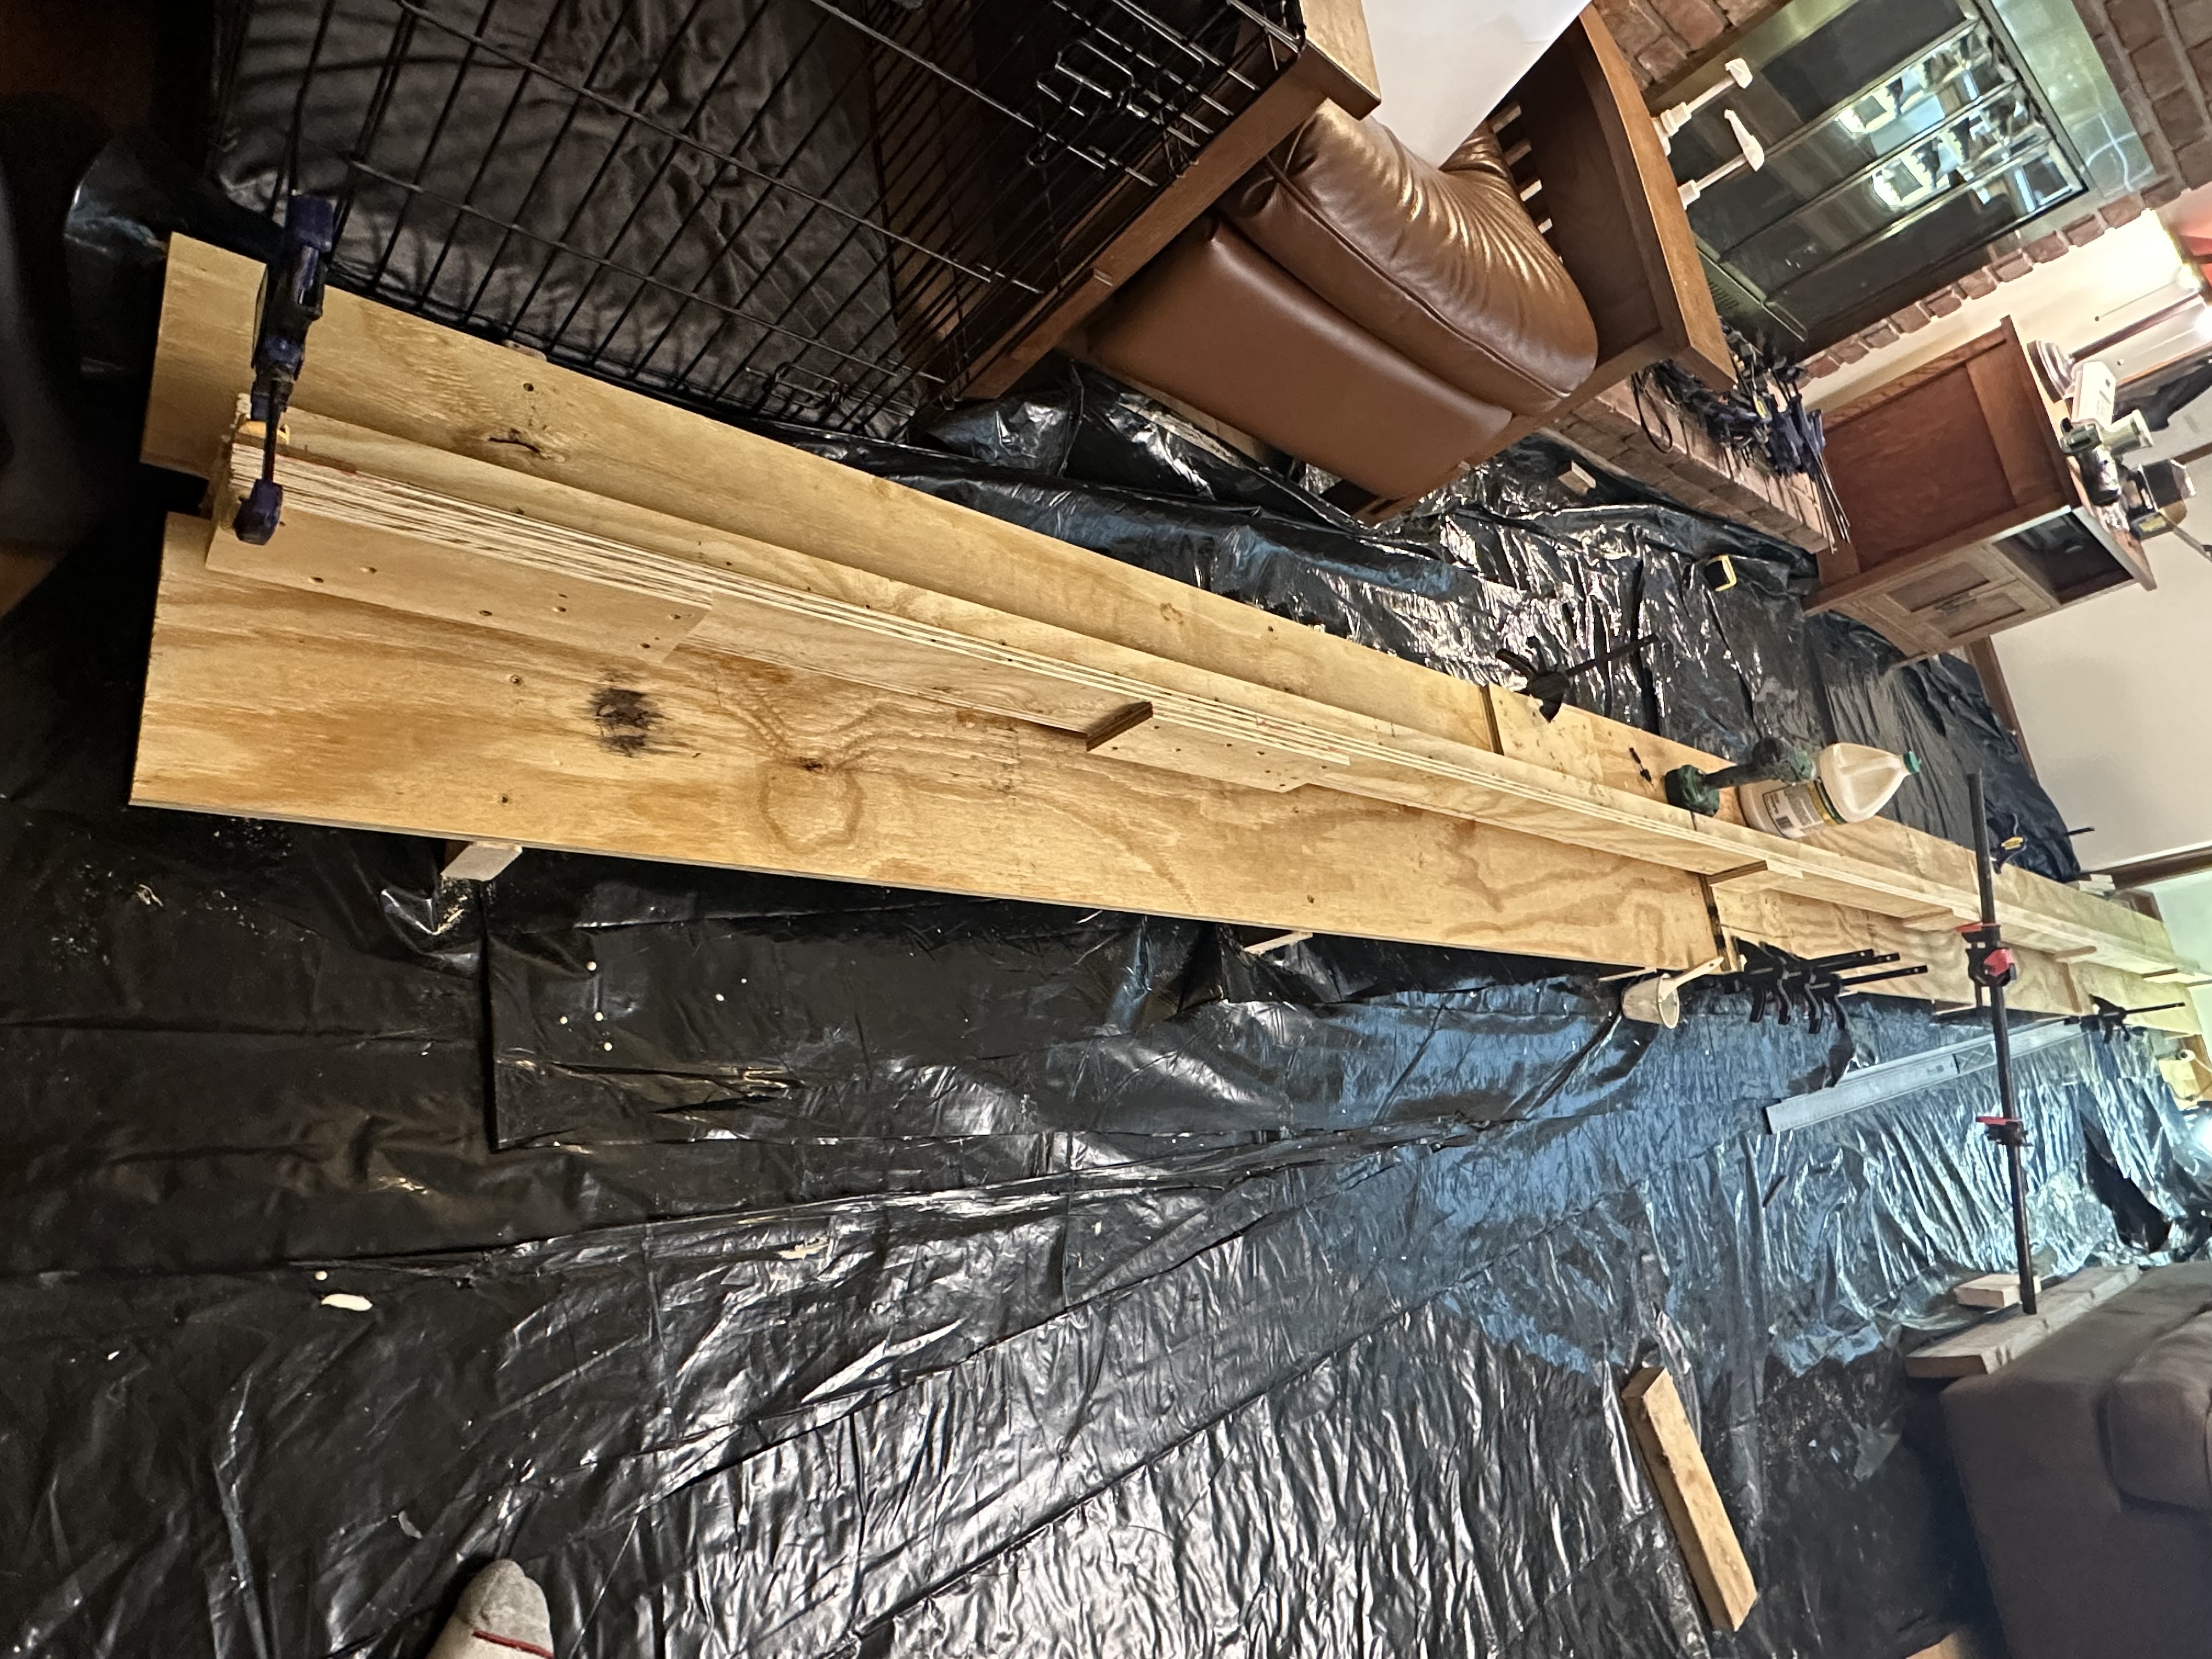
The plans suggest temporarily screwing blocks to the floor to make sure the mast is straight when it is glued up, but since I was working in my family room, that wasn’t an option. Instead I made a plywood I-beam like jig to hold everything straight while the glue set. I made the jig out of a 4x8 sheet of 3/4” plywood. I used plywood because it is engineered so, unlike solid lumber, I don’t have to worry about it warping and it is easy to cut into straight pieces on a table saw. I cut the sheet into nine 4” strips and three 3” strips, which was enough to build a 22’ long I-beam.

The I-beam in the above picture still flexed a bit so I got a second sheet of plywood that I used to reinforce the jig by adding a deck to its legs. The picture below shows the finished jig. The center piece is an L-shaped plywood cradle to clamp the mast to while it dries. I verified the jig is straight on both axis using string.

I had done a dry run without glue beforehand, but didn’t pay closely enough attention when gluing them up so I stacked them in the wrong order. This shouldn’t really matter except it meant the scarf joints in the three layers aren’t as staggered as I planned. It also caused some gaps in the lamination because the top pieces weren’t as thick (which wouldn’t have mattered if I glued it up correctly because the top of the mast is tapered). Hopefully it won’t matter, or this will be an expensive practice mast.
After the glue dried, I cleaned off the squeeze out and ran it through the thickness planer to square it up to the final dimensions.

Unfortunately the mast still had a slight curve in the fore/aft direction after the glue dried. I tried to work around it and hope it won’t matter too much or be too noticeable. The mast will be installed so it curves forward. My thought is that the mast taper is cut by removing material from the front of the mast, which will make it straighter. Hope this works.
The luff (leading edge) of the main sail has a rope, known as a bolt, sewn into it make it thicker. The rope feeds into a lollipop shaped groove in the mast to attach it. I cut the slot with a router in two passes, first with a 1/4” straight bit and then with a round bit. I made a guide for the router to keep the groove straight and centered.

I am now ready to shape the mast into the tapered tear drop shape called for in the plans. I made templates for the cross section at various points and will use the same technique I used to fair the frames - use the templates to file the mast to the final profile at each reference point and then use a plane to fair between those points.
The plans provided full size templates for the mast profile about every 4.5 feet.

I used a Japanese rasp to shape the mast at each point as shown below.


Once I had the profiles cut, I used them as guides to plane away the material between each profile, using the templates and sighting down the length of the mast to frequently check my progress. I started with a power plane and switched to a hand plane for the final shaping. I then used a belt sander and finally a random orbital sander to round any corners left by the plane. I was worried about removing too much material so initially wound up with a kind of hour glass shape with a slight bulge between the template points, but worked on it until I felt it was “good enough”.

The sail groove is 1/4” wide (the width of the router bit shank), which I discovered was a little too wide to prevent the bolt rope from squeezing through it, which would detach the sail from the mast like a broken zipper. To be safe, I glued a strip about 3/32” thick inside the sail track to reduce the width of the slot and better hold the bolt rope.

I used some plastic window shims as clamps while the glue dried.
The mast is now ready to install on the boat. I just need to attach the hardware and varnish it. I haven’t weighed it, but it is surprisingly light for its size.


Comments
Post a Comment